


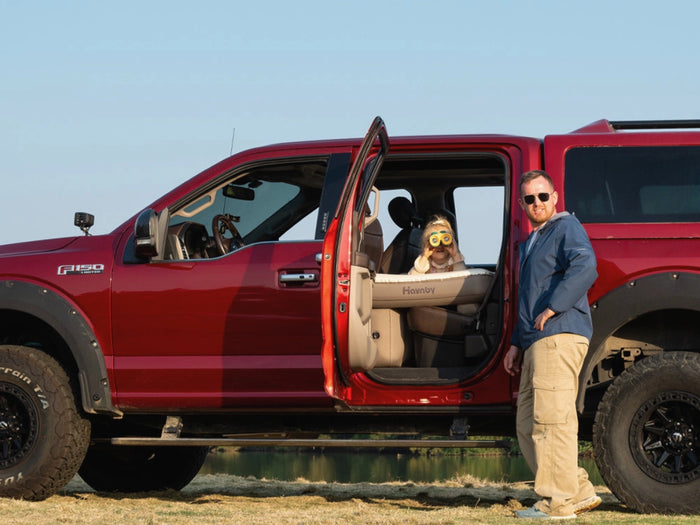
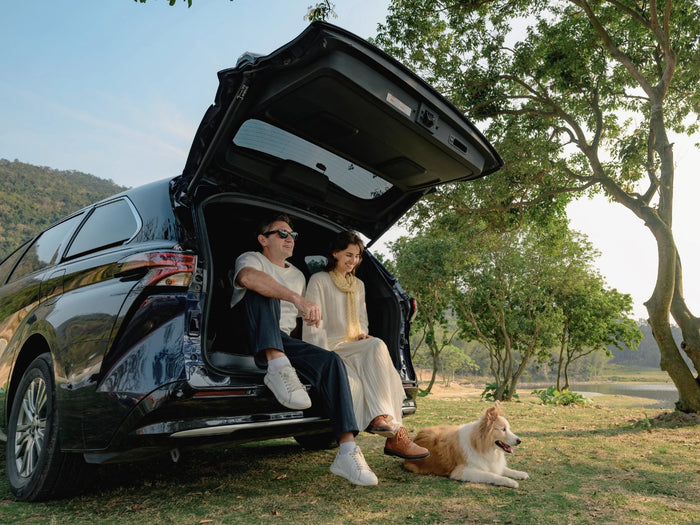
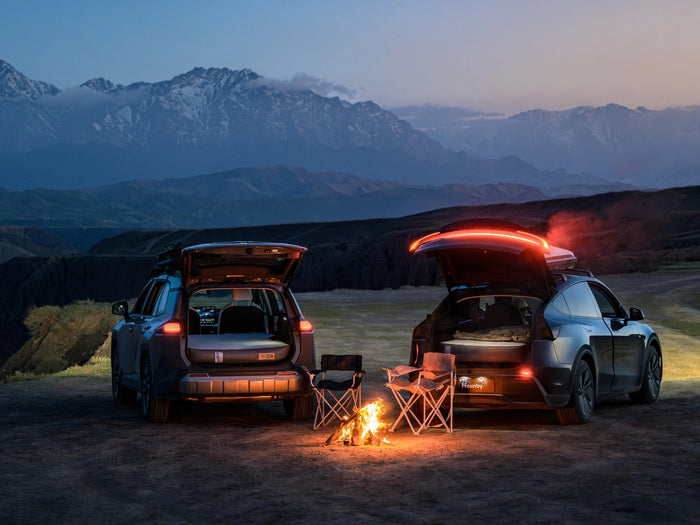

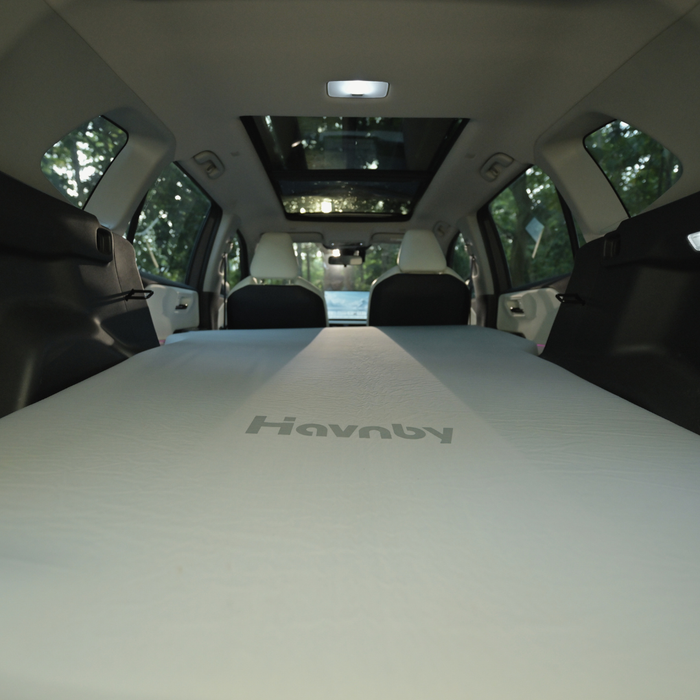



Halloween decorations have a way of taking over the front porch, the living room, and occasionally the entire yard. But your car can be a fun place to celebrate, too, especially if you already use it for camping or weekend adventures. With a comfortable bed, a few soft layers, and some familiar Halloween decorations, you can turn a parked vehicle into a seasonal hangout that feels surprisingly inviting.
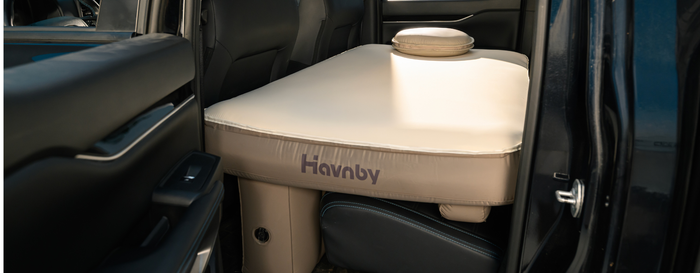
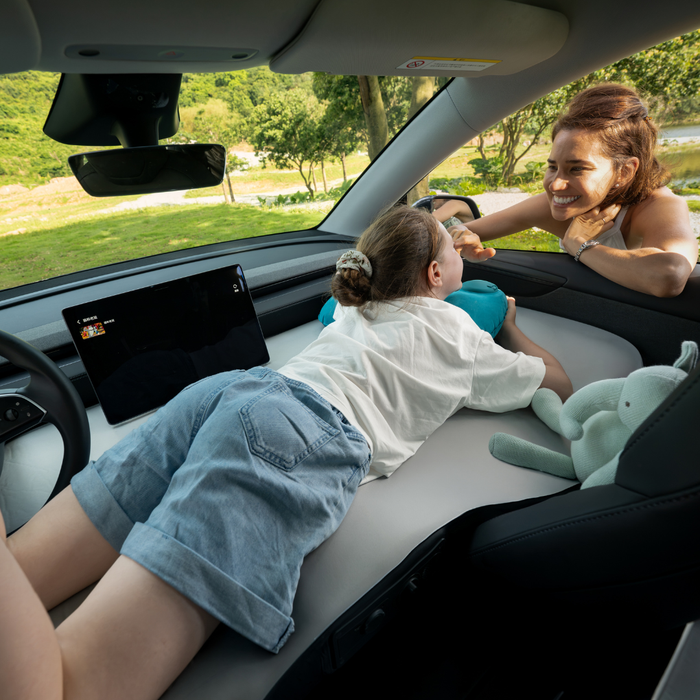
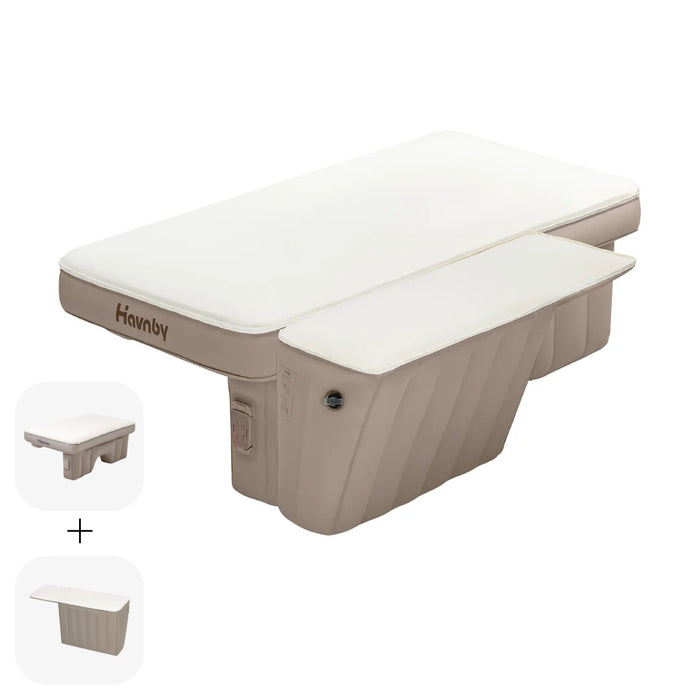
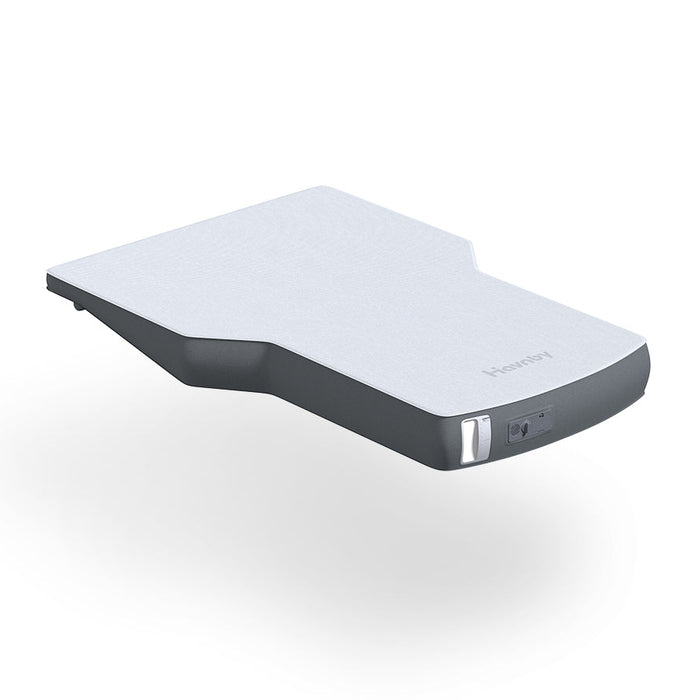
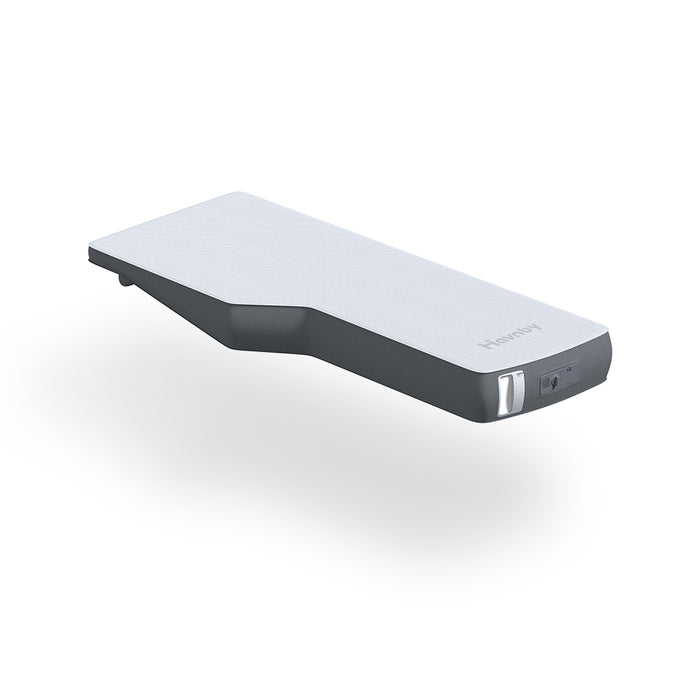
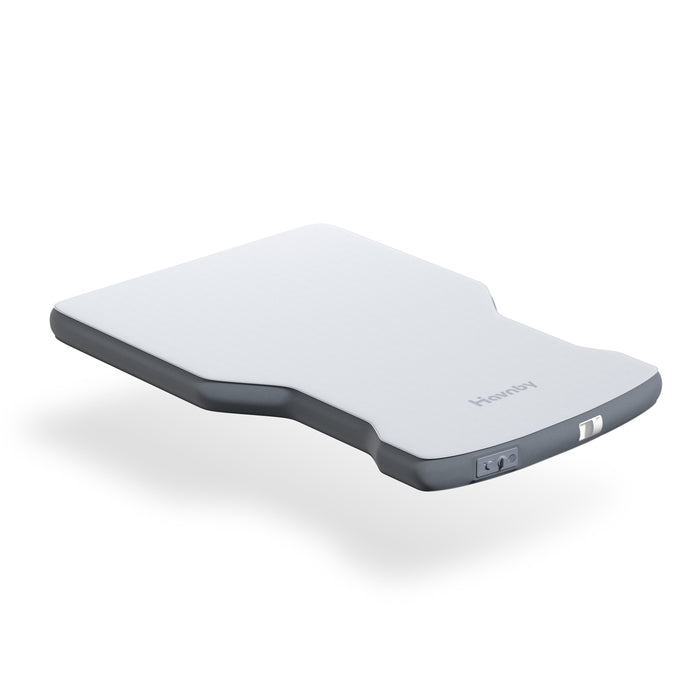
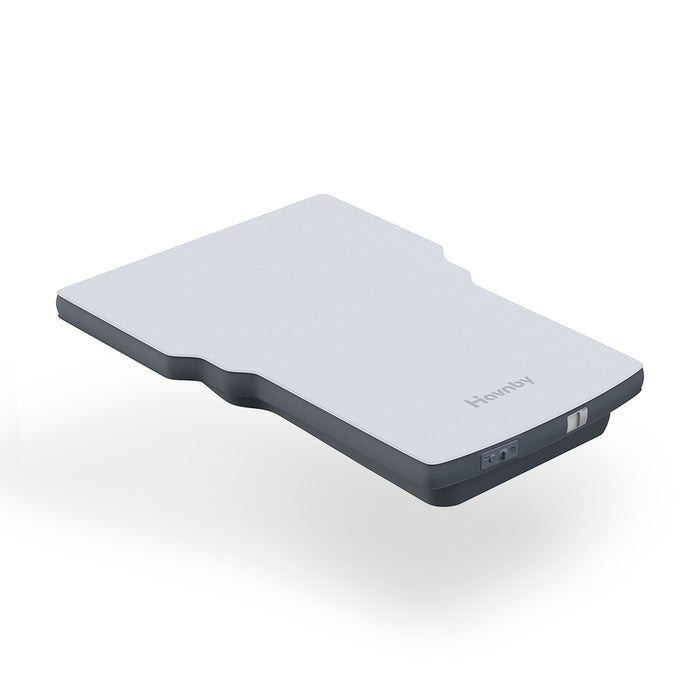
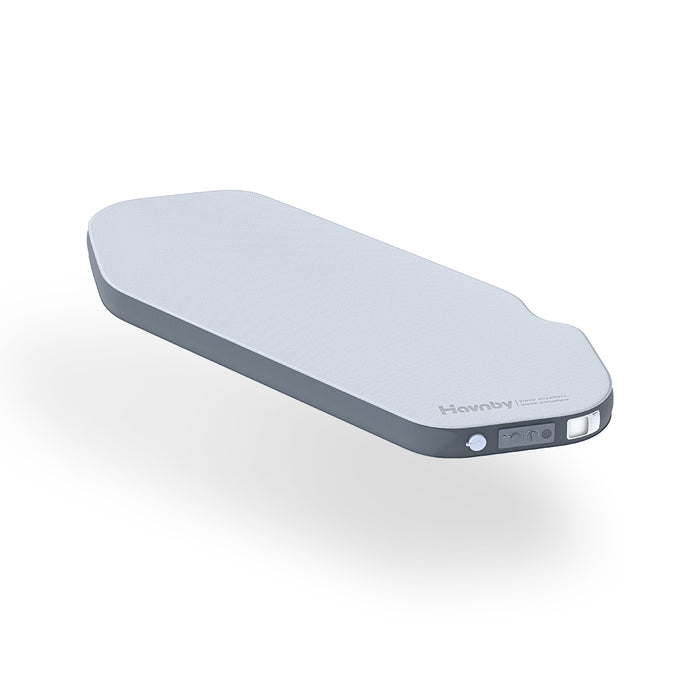
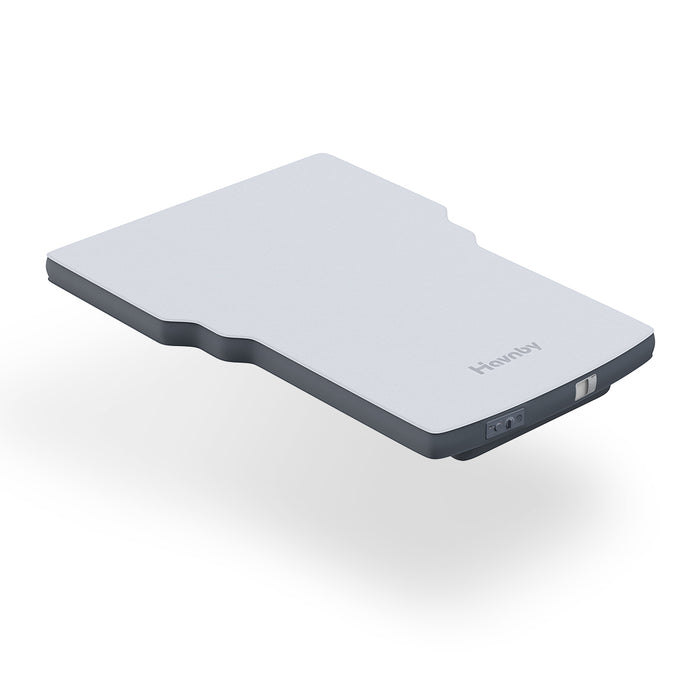
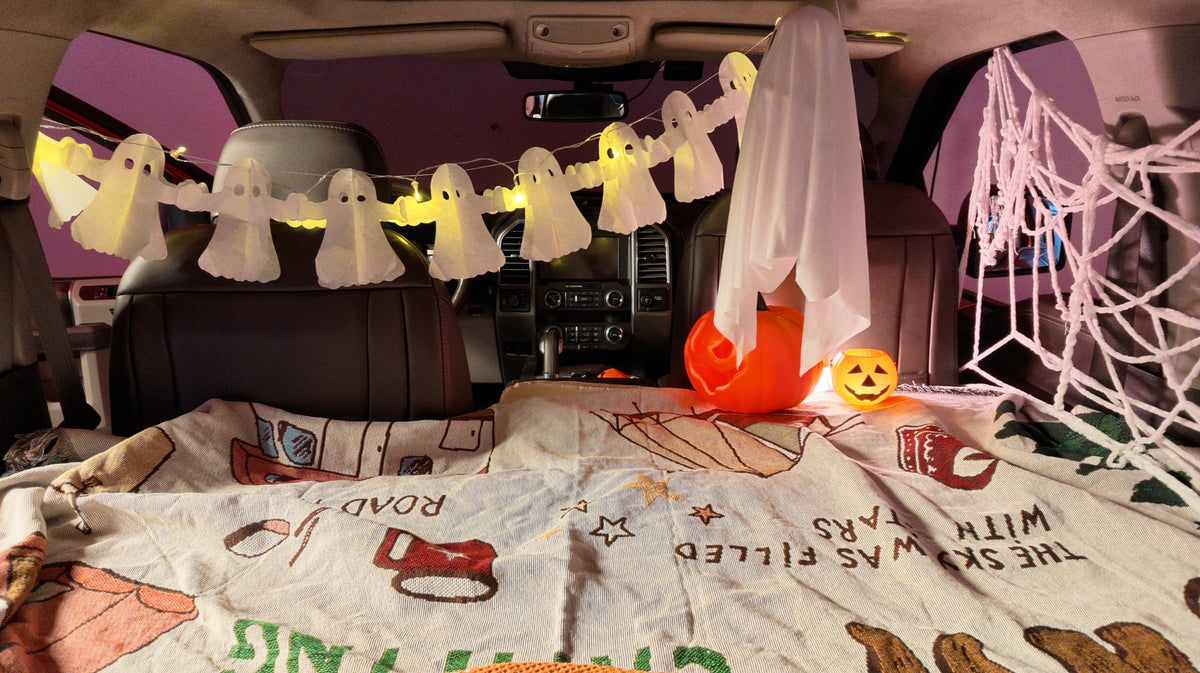
The setup pictured here brings together a Havnby mattress, an orange throw, friendly ghosts, and glowing pumpkins. Everything works around the space inside the vehicle, leaving room to sit and enjoy the finished arrangement. You can adapt the same approach for a trunk-or-treat event, a Halloween gathering, or an evening at a permitted campsite.
Here’s how to build the look, starting with the gear you may already have.
What You’ll Need
Gather your supplies before you begin so you can see how the colors and decorations work together:
- A Havnby mattress compatible with your vehicle
- A neutral blanket or mattress cover
- An orange throw and a pillowA lightweight ghost garland and a small ghost decoration
- A decorative pumpkin or candy bucket
- Battery-powered LED string lights
- An optional battery-powered LED lantern
- A small amount of decorative webbing
- Removable fasteners suitable for the intended surfaces
- A tote for packing everything away
There’s plenty of room to improvise with this list. Your favorite camping blanket can replace the orange throw, and a pumpkin bucket from last year can become the centerpiece. The styling accessories are separate from the mattress, so choose the pieces that suit your space and the way you plan to use it.
Before decorating, decide whether people will be sitting inside or mainly viewing the setup from outside. A trunk-or-treat display needs an accessible spot for candy, while a Halloween hangout benefits from more open space on the bed.
1. Start with a Comfortable Base
Set up your mattress before adding any decorations. Once it’s in place, you’ll have a much better sense of how much space is available and where the rest of the arrangement should go.
Park somewhere suitable for your activity, clear loose gear from the rest area, and install your Havnby mattress according to the instructions for your vehicle and product. Keep the valves and controls accessible, and leave a clear way to get in and out. If you’re still choosing a mattress, check your vehicle’s make, model, and year to find the appropriate configuration.
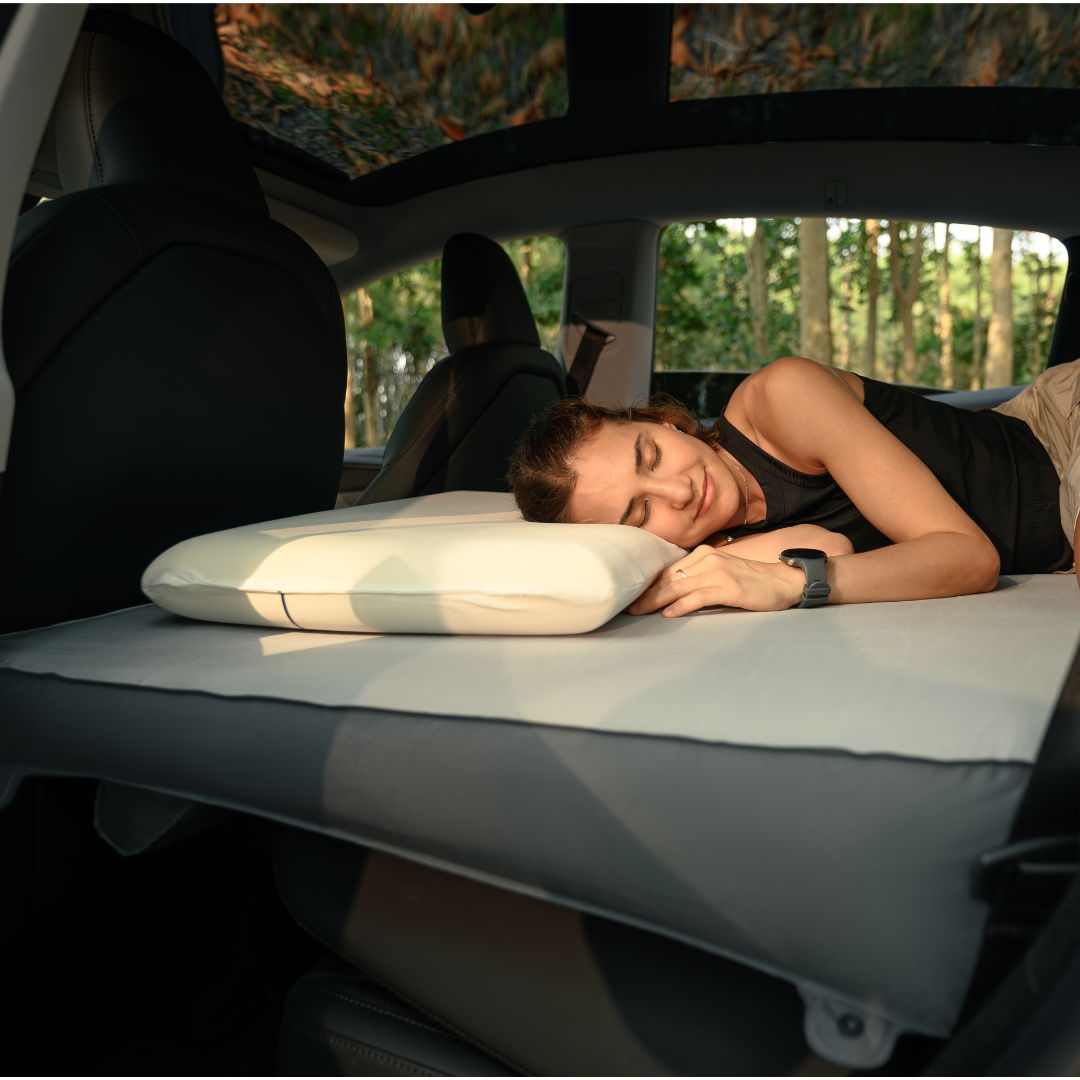
Take a moment to sit on the bed before moving on. Notice where you naturally lean back, where your feet land, and how much headroom you have. Those details will help you place the decorations around the space you’ll actually use. A hanging ghost is much more enjoyable when it isn’t brushing your face every time you move.

2. Build Your Color Palette with Blankets
Blankets cover a large part of the scene, making them the easiest place to establish your Halloween colors. In this setup, a light-colored base keeps the interior bright, while the orange throw gives it a warm, seasonal feel.
Spread a neutral blanket or cover across the mattress, then drape the orange throw over one side or the lower portion of the bed. Leave some of the lighter layer visible so the colors have room to stand out. A pillow toward the back gives the space a comfortable finishing touch and helps define where someone will sit.
Cream and pumpkin orange work well with white ghost decorations, but you can follow the same idea with plaid bedding or another fall color you already own. Keep the larger fabric pieces coordinated, then let the smaller Halloween props add variety. As you arrange the layers, tuck loose fabric inside the vehicle and away from mattress controls, door latches, and tailgate mechanisms.
3. Give the Decorations a Focal Point
A small vehicle interior fills up quickly, so choose one decoration to lead the scene and let the others support it. The pumpkin and hanging ghost in this arrangement draw your attention first, while the ghost garland creates a backdrop above the bed.
Start by positioning the larger decoration, then hold the garland in place to check the overall balance. Look at it from the open door or tailgate, where visitors will see the display, and from inside, where you’ll be sitting. You may find that moving a decoration a few inches makes the whole setup feel more open.
Use lightweight props and removable fasteners that are suitable for the surface, following the manufacturer’s instructions. Keep airbag areas, ventilation, exits, and moving parts clear. If there isn’t an appropriate attachment point, use a freestanding decoration instead. For trunk-or-treat, place the candy bucket near the opening so visitors can reach it without climbing into the vehicle.
4. Add Webbing Around the Edges
Decorative webbing works best as a finishing detail around the main arrangement. A few thin strands can frame the scene and connect the decorations visually without covering the bed or making the space difficult to use.
Pull out a small amount at a time and check the result from outside the vehicle as you go. You should still be able to see the blanket, pumpkin, and ghost garland clearly. Keep the entry route open and remove any strands that catch on clothing when you get in or out.
Avoid placing webbing near hinges, latches, controls, vents, or electrical connections. It should be easy to remove when the activity is over, so keep a small bag in your packing tote for collecting it. If the garland and pumpkin already give you the look you want, you can leave the webbing out and keep the arrangement simpler.

5. Bring the Setup to Life with LED Lighting
Lighting is the last layer because it’s easier to place once the blankets and decorations are settled. Start with battery-powered LED string lights, then add an LED pumpkin or lantern where you want a little extra attention.
Warm lighting complements the cream-and-orange bedding and keeps the space feeling inviting. The purple glow in the nighttime photograph gives the same arrangement a more playful Halloween atmosphere. Either approach can work; choose the one that suits your gathering and keep the main decorations visible.
Keep battery packs accessible and out of places where someone might sit or lie down. Follow the lighting manufacturer’s instructions, including guidance about contact with fabric, and route wires away from the entry path. Use electric lights instead of candles or other open flames. Once it gets dark, sit inside again and adjust any light that shines directly into your eyes.

6. Make the Final Adjustments and Enjoy the Space
Before calling the setup finished, use it the way you intend to during the evening. Sit down, stretch your legs, and check that you can move comfortably without knocking over a pumpkin or pulling on a string of lights. Small adjustments at this stage can make the difference between a display that photographs well and a space you’ll enjoy spending time in.
For photos, begin with a wide shot through the open tailgate or door to show how the bed and decorations fit together. A side view can capture the blankets and smaller details, while a nighttime shot lets the lighting become part of the scene. You don’t need to rearrange everything between pictures; changing your angle is often enough.
When the evening is over, switch off the lights and gather the props into one tote. Remove hanging decorations, webbing, wires, and loose items before driving, and check that visibility, controls, and vehicle safety features are unobstructed. Before storing the bedding, look for candy wrappers or sticky spots and follow Havnby’s mattress cleaning and maintenance guide.
Frequently Asked Questions
Can you decorate a small car for Halloween?
Yes. Scale the arrangement to the space available by choosing a few pieces that work together. A blanket, a small pumpkin, and LED lights can create a complete display. Include a mattress only if there’s an appropriate, compatible setup for your vehicle.
How do you attach Halloween decorations without damaging the interior?
Check that each fastener is suitable for the specific surface and follow its application and removal instructions. Interior materials vary, so avoid assuming that tape or adhesive hooks will work everywhere. Freestanding decorations are a useful option when there’s no appropriate place to attach something.
Can you leave Halloween decorations up while driving?
Pack away hanging decorations, webbing, lights, and loose props before driving. Make sure the driver’s view, vehicle controls, and safety features are clear.
Make Your Vehicle Part of the Celebration

A comfortable base and a handful of seasonal details can give your vehicle a whole new feel for Halloween. Start with the blankets and decorations you already enjoy, leave enough room to relax, and adjust the arrangement until it works for your space.
If you’re building your vehicle’s rest setup from the beginning, explore Havnby mattresses to find an option for your vehicle. The Halloween decorations can go back into storage afterward, while the comfortable bed stays ready for your next weekend away.

Lämna en kommentar
Alla kommentarer granskas innan de publiceras.
Denna webbplats är skyddad av hCaptcha och hCaptchas integritetspolicy . Användarvillkor gäller.